# Creating a Dynamic vehicle profile
{% hint style="warning" %}
**Make sure to download the** [**vehicle profile creation tool here**](https://github.com/Nep1337/dynamicSDK/releases/download/SDK/dynamicProfiler.zip)
{% endhint %}
## Setting Up The Tool:
As part of the Turn 0 Update, setup is no longer required!
***
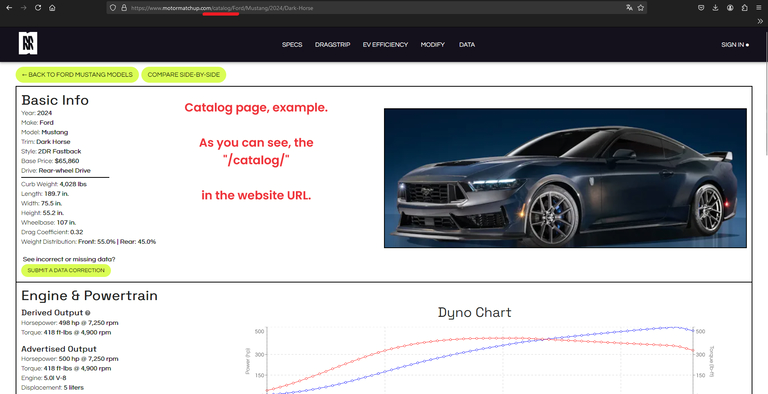
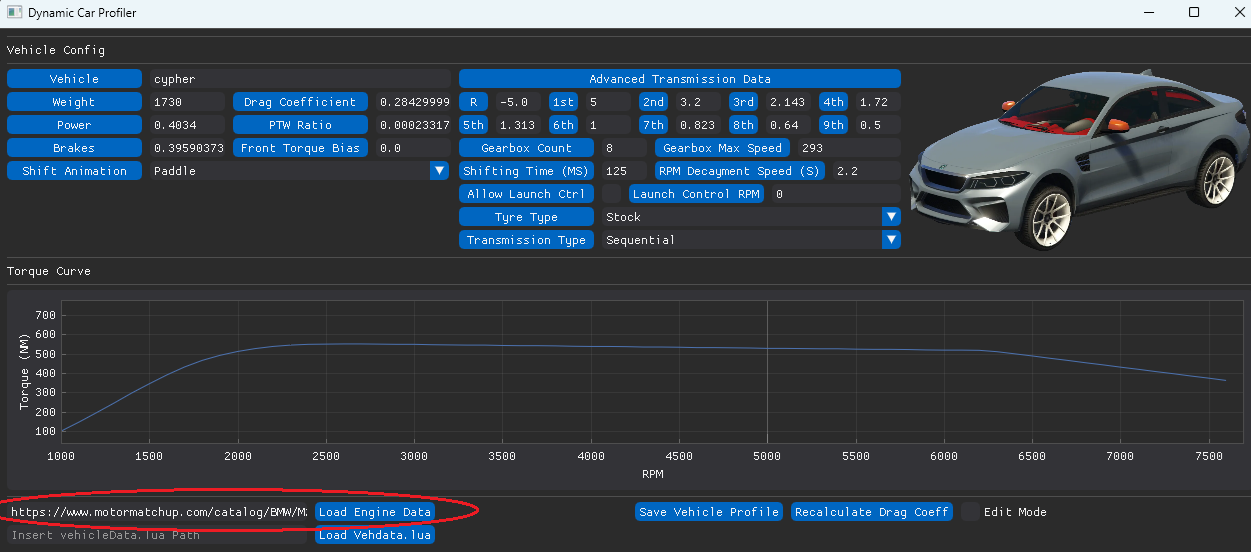
Open the tool and visit [https://www.motormatchup.com/ ](https://www.motormatchup.com/)and select the car you'd like to generate a profile for, once done, make sure you're in the catalog page (page where all details, dyno charts, etc are shown, and paste the link at the text field from the left of "Load Engine Data".
Example of the correct page.
Same URL, on software, after clicking in "Load Engine Data".
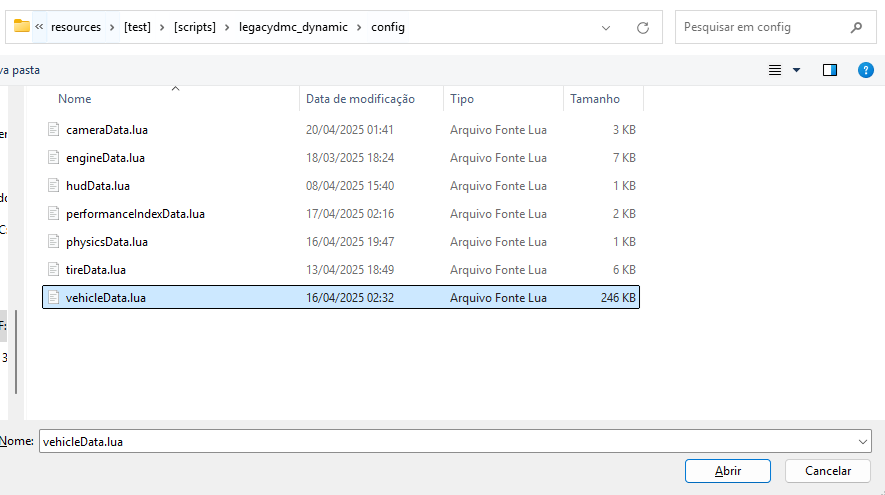
Now, After the engine data has been loaded click "Load Vehicle Config" and select your vehdata.lua file location, on your computer. If you don't have a VPS and instead use FileZilla or other FTP service to upload files to your server, you will need to do this in your local computer, then upload the vehdata.lua to your server.
Selecting the file in Windows 11 File Explorer
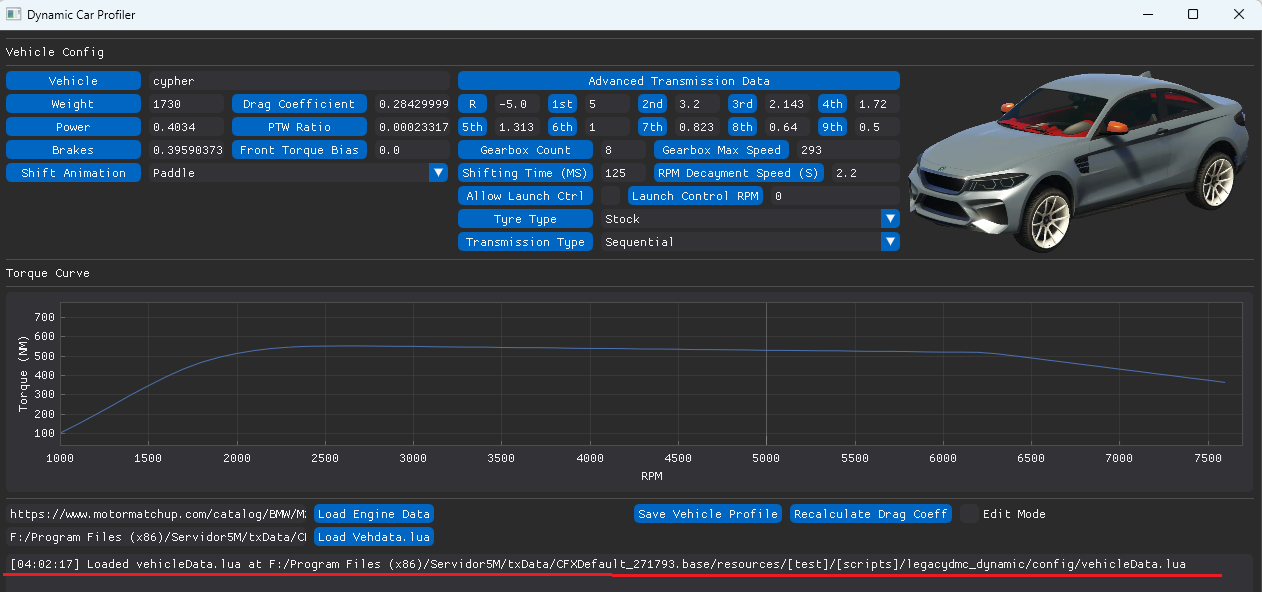
The profile will emit a log after successfully loading the vehData.lua file.
***
Now, After the engine data has been loaded and the vehData.lua has also been loaded it is time to inser the vehicle name. (same name as the .yft file)\
\
Meaning if the car is named *`"adder.yft"`* in the car folder, you'll type just ***`adder`*** \
If the vehicle is a native vehicle, it's image will be displayed. Else a place holder will be shown.\
\
Here, most of the work is already done. Choose the shift animation for this type of vehicle, the tyre type and the transmission type.\
\
If you'd like, you can customize the gear ratios, RPM Decayment Speed, Front torque bias, etc.
{% hint style="info" %}
**Make sure to hit "Recalculate Drag Coeff" if you edit anything related to power, transmission or top speed.**
{% endhint %}
After that just press "Save Vehicle Profile" and you'll already be **able to utilize this car in-game!**
***(Don't forget to restart the resource!)***